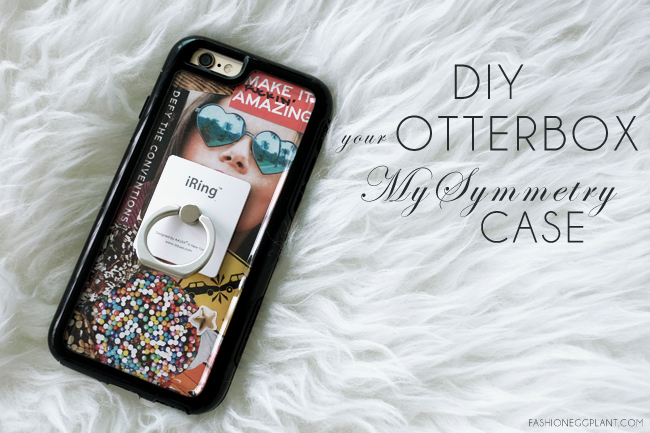
diy - ing: otterbox mysymmetry case
I've always wanted a case like this but I could never find the perfect body to compliment it until the OtterBox event a few weeks ago when the new MySymmetry case was introduced (and given) to me.
It was a eureka moment but it stayed blank for several weeks until the heavy monsoon which caused a lengthy blackout at our place. With nothing else to do, I decided to finally play with it and here's what I came up with:
(Instructions and tips after the jump)
 |
| otterbox mysymmetry price |
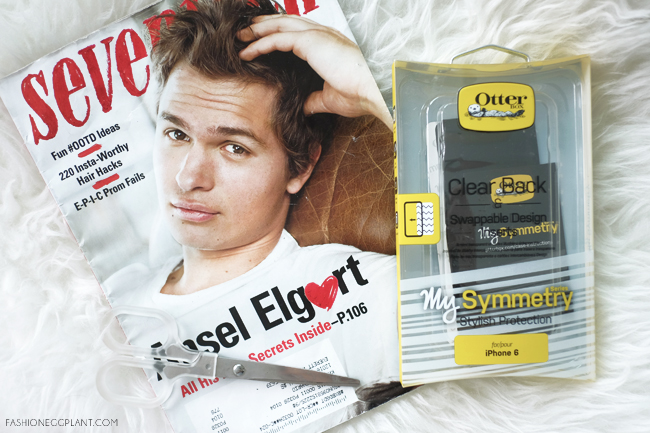
WHAT YOU'LL NEED:
- old magazines, books, posters whatever as long as you don't mind cutting it up
- a phone case with a transparent back (did one for my friend's tech21 case too)
- scissors
- glue preferably a glue stick so you can switch things up
- old cardboard or paper
 |
| diy iphone case tumblr |
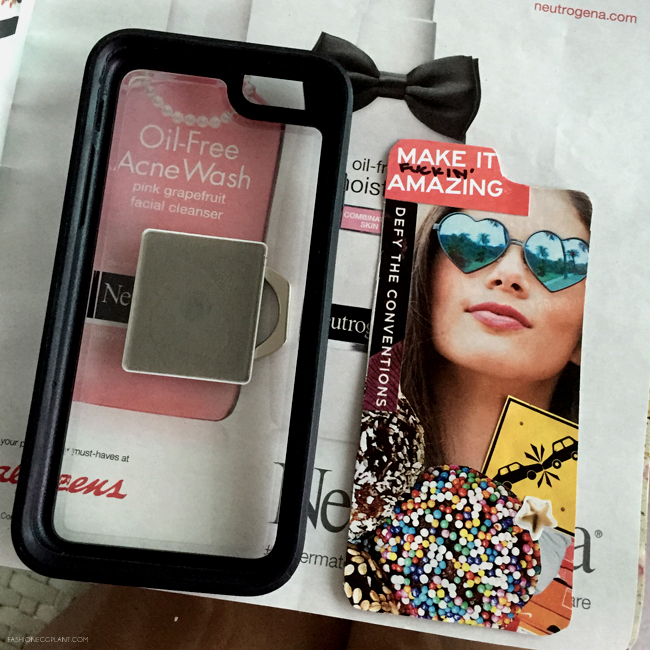
HOW TO:
- No rules really, you can either trace the shape of your phone onto the cardboard and cut or browse your magazine and cut out any photo or phrase that speaks to you. In this case, more is more.
- Roughly cut them up ( you don't have to do it neatly cause you're gonna have to overlap them with each other anyway.
- Make sure to pick the right side of your cardboard to stick your photos on or else you're gonna end up with something like this:
 |
| diy hipster iphone case |
Fuck me moment right? Haha, in case the same thing happens to you, don't fret, just cut up another piece of cardboard and stick on your existing collage to it making sure that this time you use the right side. I used a glue stick so I was able to easily re-situate certain photos to accommodate the change in proportions.
TIPS ON MAKING A SUCCESSFULLY PROPORTIONATE AND ARTY LOOKING COLLAGE:
- Like I mentioned earlier, more is more, the more photos you have the more options to choose from.
- If you can't use a certain photo as a main interest point save it for an interesting background piece (check out the inverted Nike shoeboxes in mine)
- Pick one photo to be the main interest of your collage and build on that
- In my opinion, abstract thoughts always work better than a literal collection of photos with an obvious theme.
- Cut out little pieces to fill in awkward gaps.
That's it for now, hope you enjoyed this quick and easy DIY! More when you click on the DIY tab found on my right rail.


Comments
xoxo
MrsMartinez