RENOVATION DIARIES: MONEY SAVING TIPS TO UPDATE THE LOOK OF TIRED FURNITURE
Are we friends on Facebook? Did you notice that I suddenly stopped posting renovation updates? It's because I am sooo fed up with having workers around everyday. The dirt, the cleaning up. It's so tiring and exasperating. I wipe down our floors twice a day just to make our place liveable.
Most frustrating of all is that we've hit a plateau.
Most frustrating of all is that we've hit a plateau.
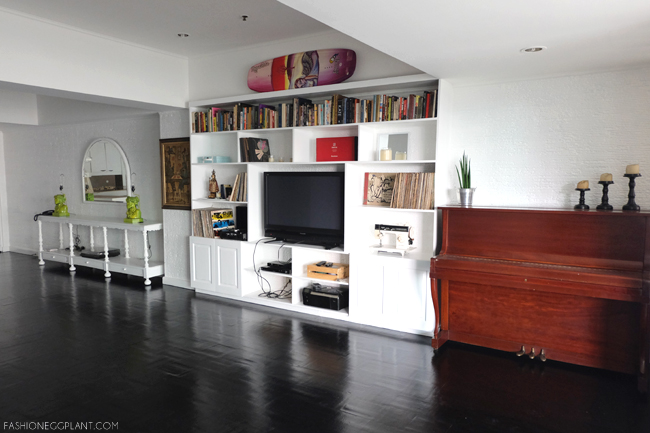 |
| black white interiors |
We're at this point wherein you can already see the progress but you can't enjoy it yet. Work is already done in the bedrooms, living room but it's the kitchen that's taking forever to get done and a lot of the stuff that belongs there are still in boxes all over the house.
Also, the kitchen is located on the opposite side of our fire escape (where they do all the tile trimming and carpentry) so they have to cross the entirety of our unit to get there. That explains why I'm constantly wiping down stuff.
To give you a better idea of how things are, check out this photo below and the one above. Both are happening simultaneously.
Tell you the truth, I'm kinda getting used (and liking) the industrial chic look. haha
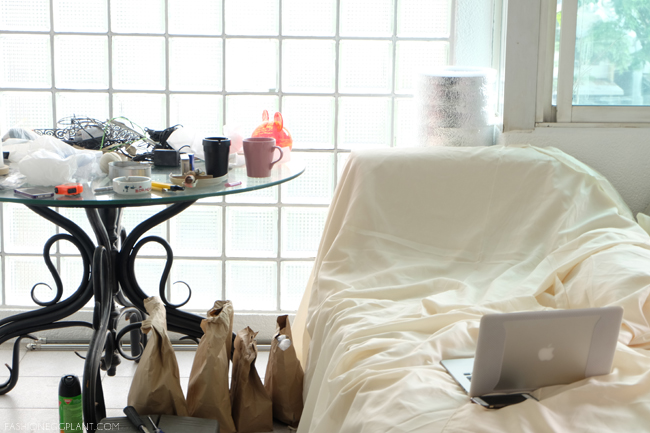 |
| industrial chic |
So now that I've had time to rant a little, let's talk money saving tips!
During this renovation, I did all the designing, measuring and conceptualizing myself to save money. I didn't hire a contractor because man, those guys are expensive. I spent too much when I had my bar done before so as long as I can handle it, never again.
So I guess that's tip no.1: Make full use of the internet: for steps, diy and design ideas. There's so much info available online. While we're there, just a gentle reminder to measure twice and cut once!
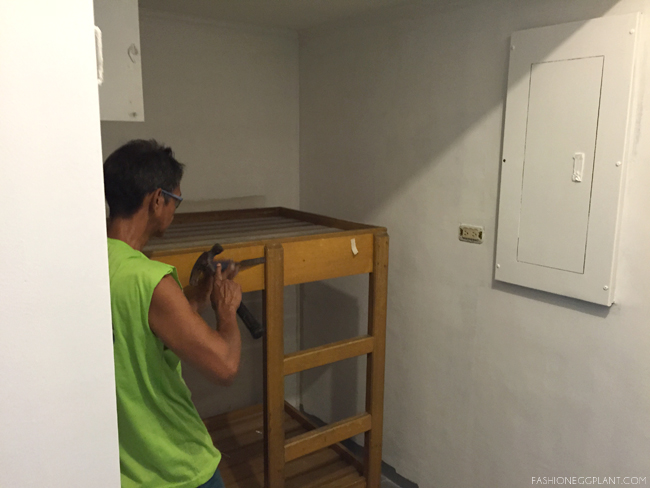 |
| repurpose old furniture |
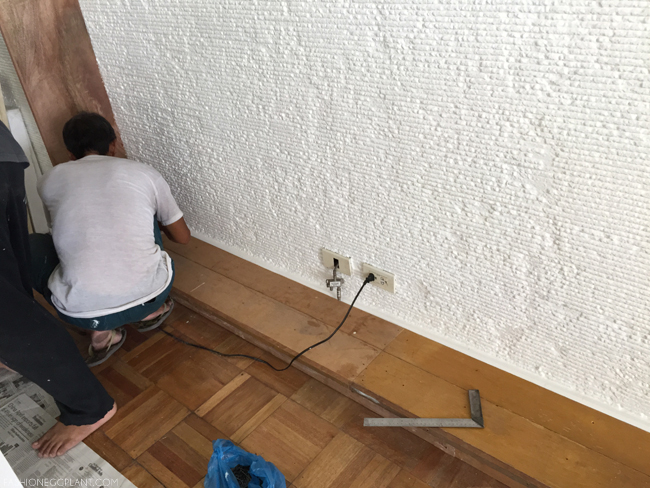
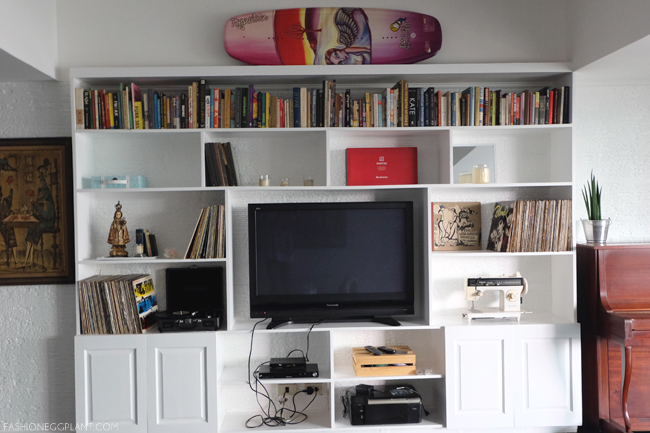
Tip no. 2: Repurpose old furniture. If you're not using it, turn it into something else. We've had this bunk bed in our maids quarters for ages. They would always just use the bottom bunk and use the top as a catch-all for stuff they didn't know where else to put. It was an eyesore so I told our carpenter to knock it down and use the wood for the new shelving unit/multimedia cabinet in our living room instead. I would say that's a much better way of justifying the death of a tree.
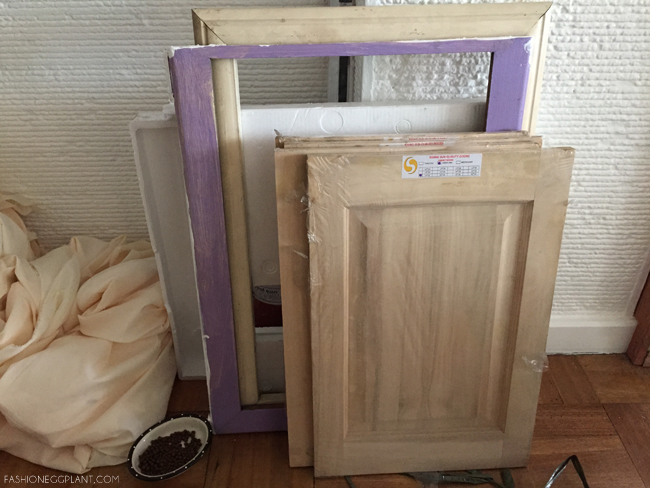 |
| cheap ready made cabinet doors ph |
Tip no. 3: Canvass a lot before you buy. Especially when it comes to wood. Prices can be ridiculously different depending on where you purchase. Case in point: plywood and cabinet doors.
I first went to Wilcon for cabinet doors, the cheapest they had there was P900. I needed at least 4 so I decided to look elsewhere for a cheaper option. Found these in MC Home Depot for only P300. Exact same thing.
But MC isn't all that cheap either. Case in point #2: Plywood. At MC 3/4" plywood costs close to 2k, at a local hardware, it's only P800.
 |
| diy multimedia cabinet |
Since I repurposed the old bed, I only needed about 2 sheets of plywood to finish the entire shelf.
Tip no. 4: Make your own stuff. I've always wanted a headboard but they're so expensive and most of the ones I see in stores are upholstered. I didn't want anything upholstered cause it's so dusty here and I can already imagine how dirty it's gonna be in a year or two.
Instead of spending 30k on a headboard, I bought another sheet of plywood and crown moulding instead. Did some measuring and drawing and voila! A headboard! Total cost for materials: Less than 2k.
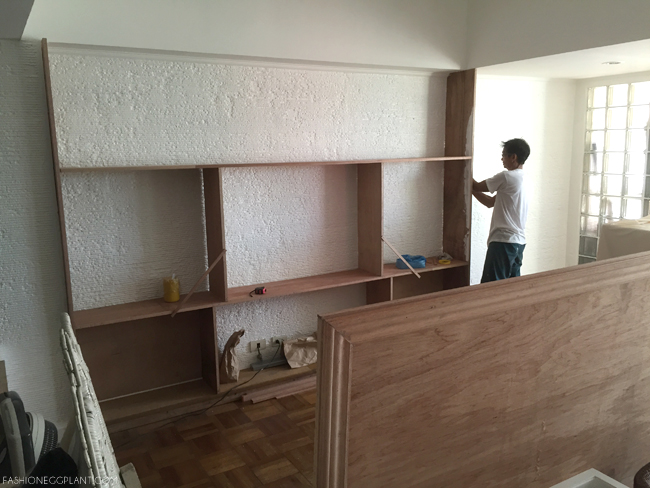 |
| living room shelf measurements |
Photo above shows the headboard pre-painted. (Let me know if you want the measurements I used for all the stuff I had made so I can share with you in a separate post).
And my favorite project of all...these shelves. I've always wanted a home for my records and books and now I have one!
 |
| white multimedia shelves |
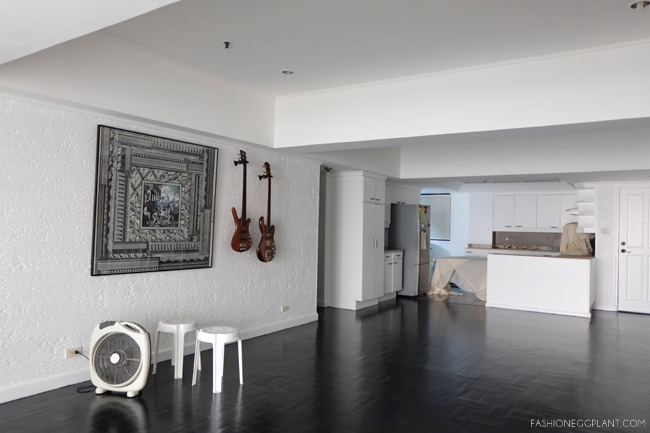
There's the kitchen at the far end still waiting to be re-done.
 |
| black and white interiors |
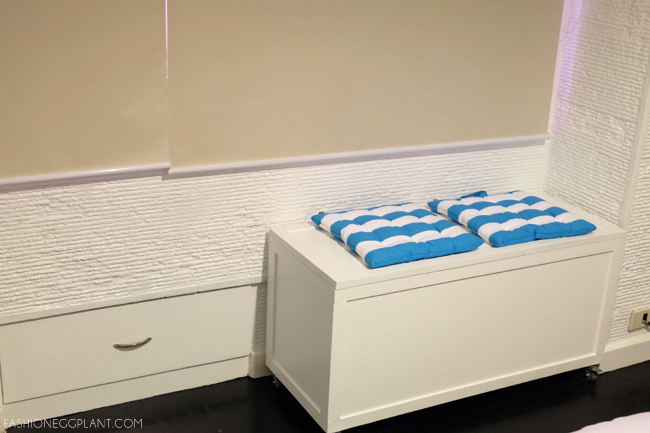
And added blue and white chair cushions for a resort feel. That wooden box/toy chest below was also another DIY project of mine.
We used to store all her stuff in duraboxes. As practical as they are, I find them pretty ugly so I had this made instead to also double as a window seat when she has friends over.
 |
| wooden toy box |
This bedroom set used to be mine. It was a dirty white before I gave it a fresh coat of Tiffany Blue paint (more on custom paint colors here).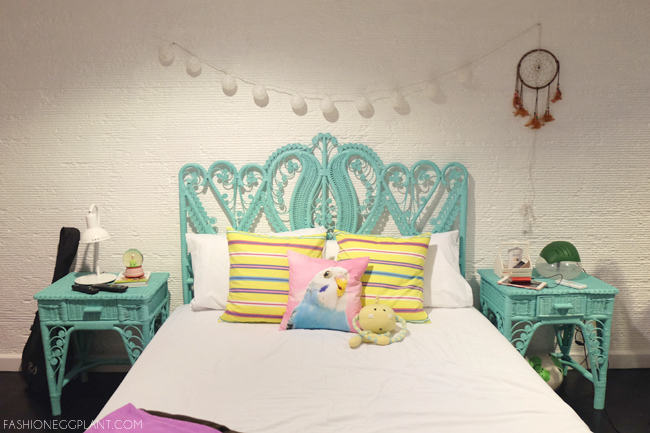 |
| painted peacock headboard |
And our bedroom, which is now 80% done and liveable! Nice to finally have a refuge after almost 3 months of living amidst boxes.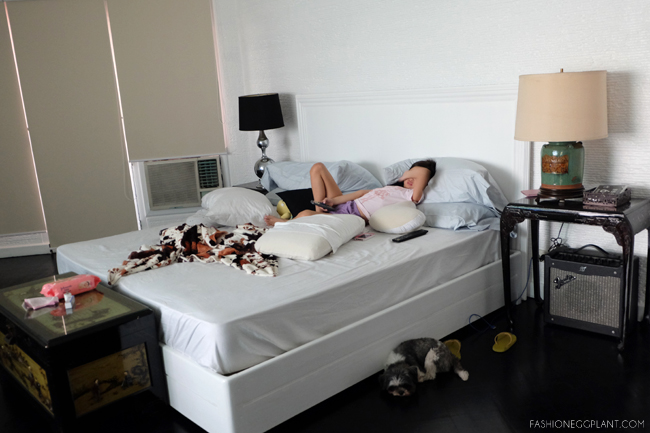 |
| white bedroom |
Some time has passed since I took most of these photos. Today, the kitchen is finally done. We no longer have workers around. I just need someone to do a few minor plumbing jobs.
These past few days have all been about cleaning up, re-organizing, shopping and my favorite of all sprucing!
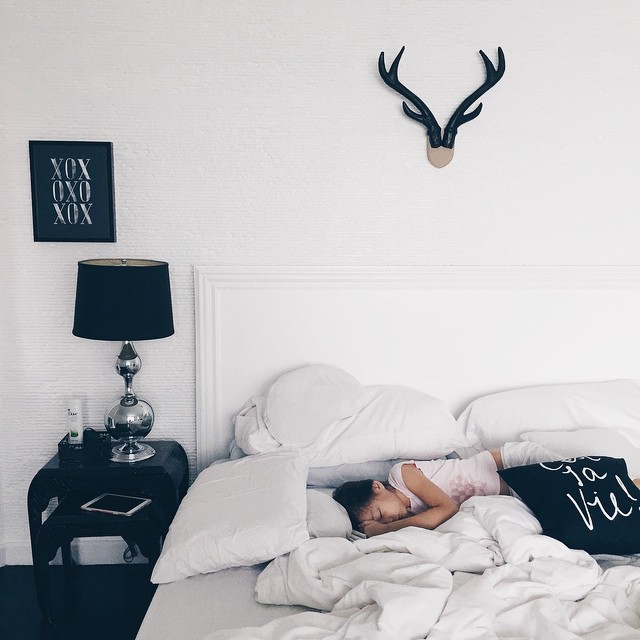
I was finally able to hang some wall art a couple days ago in out bedroom:
 |
| black white bedroom |
Though the process was long and extremely trying, I am in love with the outcome and I think it was all worth it.
Will share more proper "after" photos with you guys soon.
We're currently at 90% and I'm really, really excited to finally get everything done.
Hope you enjoyed this post! For questions, email me at eggplantchronicler@gmail.com or send me a tweet @sarahtirona.

Comments
xoxo
MrsMartinez